How to Deploy Android Flutter Apps on macOS
How to Deploy Android Flutter Apps on macOS
So, you’ve developed a fantastic Flutter app, and now it’s time to share it with the world. Deploying your Flutter app to the Android platform can seem daunting at first, but with the right guidance, it’s a straightforward process. In this comprehensive guide, I’ll walk you through each step, from configuring your project to publishing it on the Google Play Store.
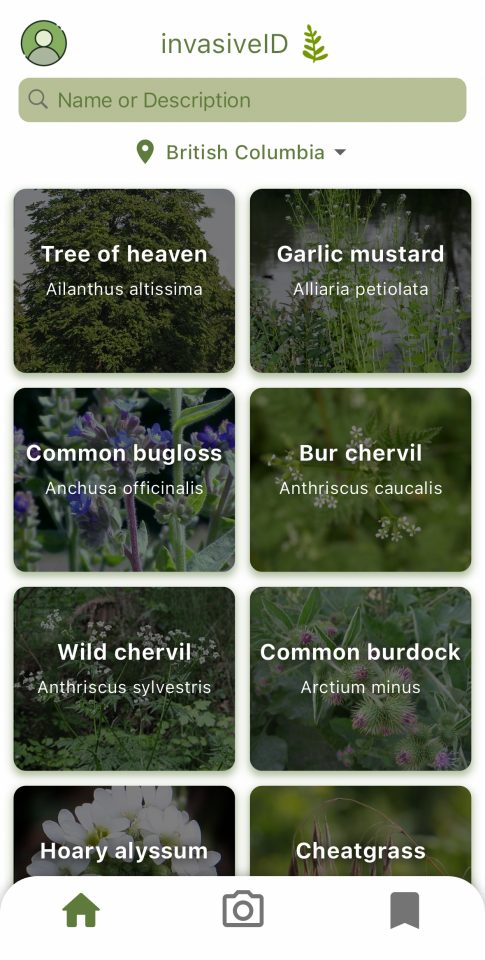
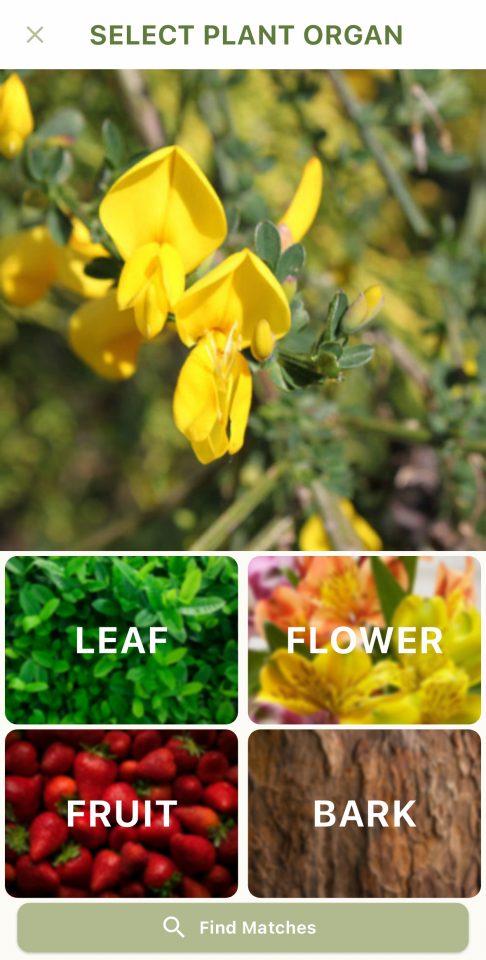
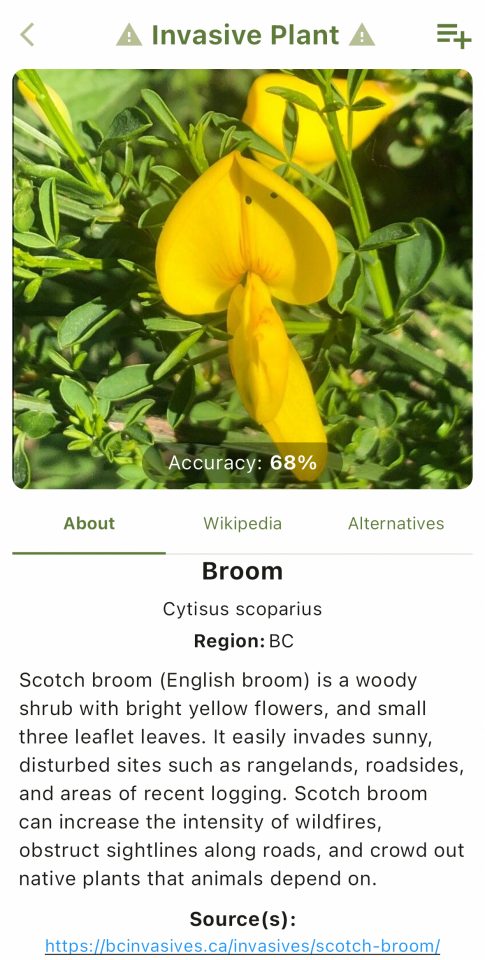
During my tenure as a student developer at the UBC CIC, I developed InvasiveID – a Flutter mobile app that identifies invasive plant species. My choice of Flutter as the development framework stemmed primarily from its cross-platform compatibility. By leveraging Flutter, developers gain the ability to craft code once and seamlessly deploy it across an array of platforms, including iOS, Android, web, and desktop environments. This distinctive feature significantly streamlines the development process, eliminating the need for separate codebases for each platform. Initially, my focus was primarily on tailoring the app for the iOS platform. However, as the project progressed, the clients expressed a desire to extend testing to the Android platform. In response to this requirement, I pivoted the development process to accommodate the Android platform. In this blog post, I will provide the simple steps I undertook to facilitate this expansion.
Part 1 – Install and Configure
Using an IDE with a Flutter extension or plugin provides code completion, syntax highlighting, widget editing assists, debugging, and other features. You can build apps with Flutter using any text editor or integrated development environment (IDE) combined with Flutter’s command-line tools. The recommended option is Visual Studio Code with the Flutter extension.
Android Studio is the official IDE for Android app development. Based on the powerful code editor and developer tools from IntelliJ IDEA, Android Studio offers tons of features that enhance your productivity when building Android apps. For our situation, the main use case of Android Studio is to be able to run the mobile app on Android emulators. Install the latest version of Android Studio here.
After Android Studio is installed, verify that the following components have been installed as well.
- Android SDK Platform, API 34.0.0
- Android SDK Command-line Tools
- Android SDK Build-Tools
- Android SDK Platform-Tools
- Android Emulator
Then, follow these steps in Android Studio to configure an emulator so that you can try out your app on the Android platform:
- Go to the Settings dialog to view the SDK Manager
- If you have a project open, go to Tools > Device Manager
- If the Welcome to Android Studio dialog displays, click the More Options icon that follows the Open button and click Device Manager from the dropdown menu
- Click Virtual
- Click Create Device
- The Virtual Device Configuration dialog displays
- Select Phone under Category.
- Select a device definition. You can browse or search for the device.
- Click Next.
- Click x86 Images if your Mac runs on an Intel CPU or ARM Images if your Mac runs on an Apple CPU.
- Click one system image for the Android version you want to emulate.
- If the desired image has a Download icon to the right of the Release Name, click it. The SDK Quickfix Installation dialog displays with a completion meter.
- When the download completes, click Finish.
- Click Next.
- The Virtual Device Configuration displays its Verify Configuration step.
- To rename the Android Virtual Device (AVD), change the value in the AVD Name box.
- Click Show Advanced Settings and scroll to Emulated Performance.
- From the Graphics dropdown menu, select Hardware – GLES 2.0.
- This enables hardware acceleration and improves rendering performance.
- Verify your AVD configuration. If it is correct, click Finish.
- In the Device Manager dialog, click the Run icon to the right of your desired AVD. The emulator starts up and displays the default canvas for your selected Android OS version and device.
Before you can use Flutter and after you install all prerequisites, agree to the licenses of the Android SDK platform:
- Open your terminal and run the following command to enable signing licenses:
flutter doctor --android-licenses- Read and accept each license
The final step in this part is to confirm that all the components of a complete Flutter development environment for macOS are installed.
- Open your terminal and run the following command:
flutter doctor- Check that your result looks something like this:
Running flutter doctor...
Doctor summary (to see all details, run flutter doctor -v):
[✓] Flutter (Channel stable, 3.19.3, on macOS 14.4.0 23E214 darwin-arm64, locale en)
[✓] Android toolchain - develop for Android devices (Android SDK version 34.0.0)
[!] Chrome - develop for the web
[!] Xcode - develop for iOS and macOS (Xcode not installed)
[✓] Android Studio (version 2023.1)
[✓] VS Code (version 1.86)
[✓] Connected device (1 available)
[✓] Network resources


! Doctor found issues in 2 categories.
Part 2 – Running The App
Now that you have everything installed and configured, you can try running your Flutter app first on the Android emulator. To do so:
- Start your emulator in Android Studio
- Select your emulator device in VS Code (on the bottom right of the window)
- Run this command in the terminal:
flutter runIdeally, your app should run on the emulator without any errors. If any issues pop up, check your debug window in VS Code to see what the message is – it will guide you in the right direction.
In my experience, the one error I got was related to the permissions handling of the Android device. Here is how I solved it:
- Since my app makes HTTP requests and uses the phone’s camera and location, I added a few lines of code in my manifest file at /android/app/src/debug/AndroidManifest.xml
- For HTTP requests, I added these two lines:
// under the manifest tag
<uses-permission android:name="android.permission.INTERNET" />
// under the application tag
android:usesCleartextTraffic="true" - For camera, I added these two lines:
// under the manifest tag
<uses-permission android:name="android.permission.CAMERA" />
<uses-feature android:name="android.hardware.camera" android:required="true" />- And similarly, for location, I added this line:
// under the manifest tag
<uses-permission android:name="android.permission.ACCESS_COARSE_LOCATION"/>
Here is an example of what the edited manifest file looks like for my app:

If you make any changes to the manifest file, make sure you run these two commands before running the app again:
flutter clean
flutter pub get
If you want to test on a physical Android device, the steps are just as simple:
- Enable Developer Mode on your Android Device: Go to your device’s settings, navigate to About phone, and tap on the Build number multiple times until you see a message confirming that developer mode has been enabled.
- Use a USB cable to connect your Android device to your computer. Ensure that USB debugging is enabled on your device. You may need to authorize your computer for USB debugging the first time you connect it.
- Open a terminal window and run the following command to verify that your device is connected:
flutter devices- Finally, run the command:
flutter runFlutter will compile your app and install it on your device. You should see your app launching on the device shortly.
Part 3 – Distributing The App via Google Play Console
Deploying your Flutter app for internal testing allows you to gather early feedback from a trusted group within your organization so that you can streamline communication, identify and address issues early, and build confidence in your app before releasing it to the wider public.
Before you can upload your app to the Google Play Console, you need to prepare a release build of your Flutter app. Ensure that you’ve tested your app thoroughly and addressed any issues or bugs. Run the following command in your project directory to build a release version of your app:
flutter build apk --releaseThis command generates an APK file located at build/app/outputs/flutter-apk/app-release.apk.
Next, create a Play Console Developer account here and follow these steps:
- Create a New Application Entry
- Go to the Google Play Console website and sign in with your developer account.
- Click on the Create app button and follow the prompts to set up a new application entry for your Flutter app. Provide the required details such as the app name, default language, and app category.
- Upload your Release Build
- Navigate to the Release section in the Google Play Console for your app.
- Under the Internal Testing tab, click on the Create a release button.
- Upload the release APK file (app-release.apk) that you generated earlier using the Upload APK option.
- Configure Release Notes and Distribution
- Enter release notes describing the changes or updates included in this version of your app.
- Choose the testers or groups within your organization who will have access to this release. You can specify testers by email address or by creating Google Groups.
- Review and Rollout
- Review the configuration settings to ensure everything is correct.
- Click on the Start rollout to internal testing button to initiate the rollout of your app to the selected testers or groups.
- Testing
- Notify Testers
- Once the release has been rolled out to internal testers, notify them via email or other communication channels.
- Test the App
- Ask your internal testers to install and test the app on their devices. They can download the app from the internal testing track on the Google Play Store.
- Iterate and Collect Feedback
- Encourage your internal testers to provide feedback on the app’s functionality, usability, and any issues they encounter. Use this feedback to iterate on your app and make improvements before releasing it to a wider audience.
- Notify Testers
I hope you found this blog post helpful in guiding you through the process of deploying your Flutter app on macOS for Android testing and distribution. Starting from setting up your development environment and configuring Android Studio to running your app on emulators and physical devices, we covered every step thoroughly. Additionally, we discussed the importance of internal testing via the Google Play Console, detailing how to prepare your app for release, upload it, configure distribution settings, and gather feedback from internal testers.
By following these points, you can ensure that your Android Flutter app is thoroughly tested and polished before its public release, leading to a smoother and more successful launch.
—
Here are some screenshots of InvasiveID:


If you want to learn more about it, feel free to check it out in the UBC CIC GitHub Repository.